I suppose you could say that this is part 2.0 of the story I published at the end of July on my four day journey in the Swiss Alps to make real Swiss cheese. I did my usual thing: blabbered about the everyday adventures we had on the mountain, and the food that I cooked. So, I am dedicating this post to the chemists out there who happen to be foodies as well (or are in food science), because I don’t often cater to their desires. I am going to tell you how to make cheese of the Swiss Alps!
Now, I don’t remember the exact play-by-play of the chemical reactions that occur between each step, because the Alpini explained that to me over two months ago, and we were working too hard to have time for jotting down any notes. Sorry chemists, but I’ll have to give you a simplified version of the formaggio d’alpe (cheese of the Alps) production process.
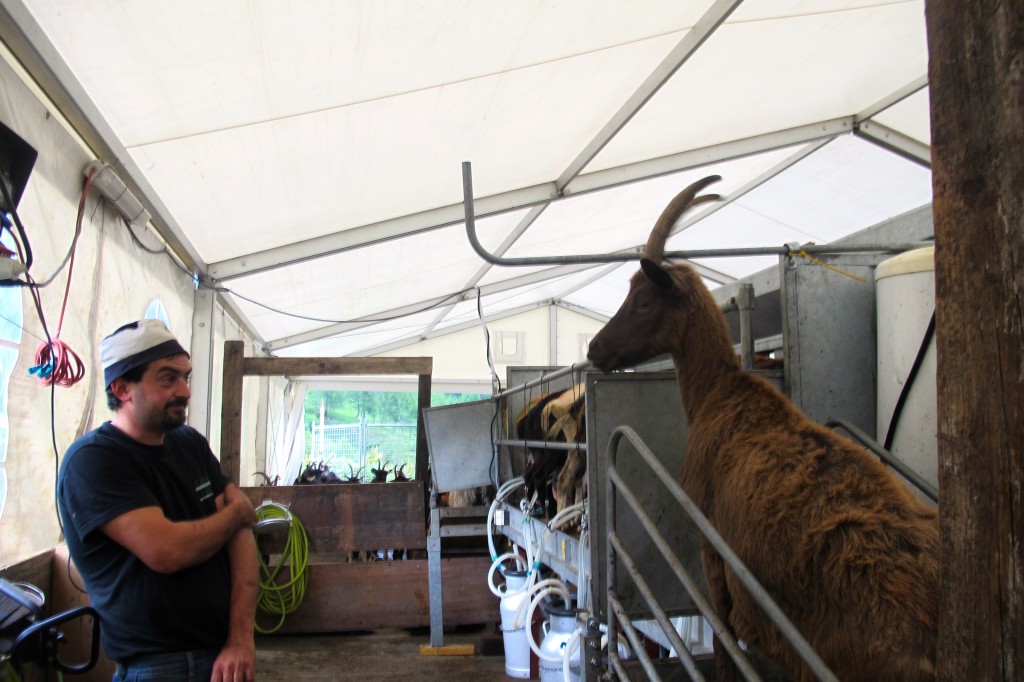
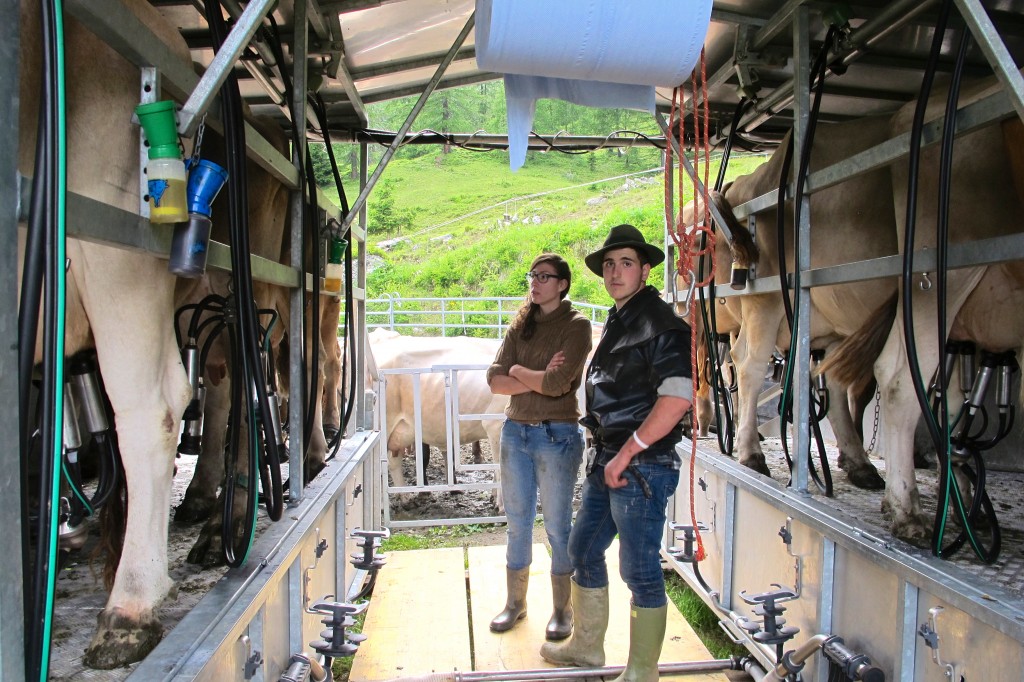
1. The cheese starts off as a combination of half goat milk, and half cow milk. The goats and cows are grass-fed, because high-quality grass produces high-quality cheese. We also had to be attentive to the animals’ temperaments because, as the Alpini like to say, “stressed cows give you stracchino” (stracchino is a buttery, soft cheese).
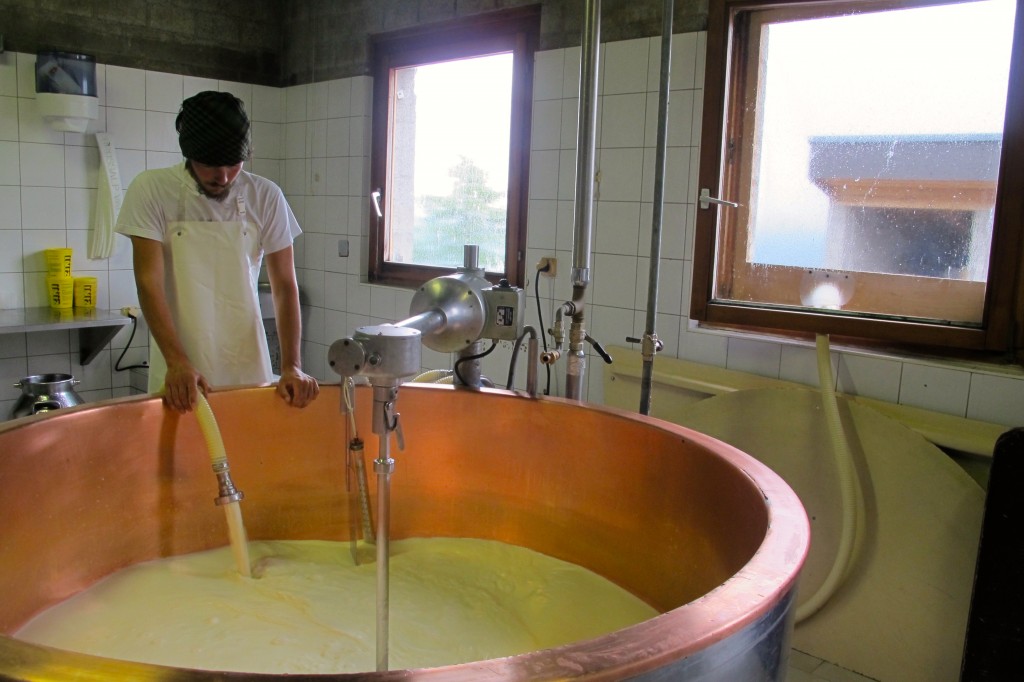
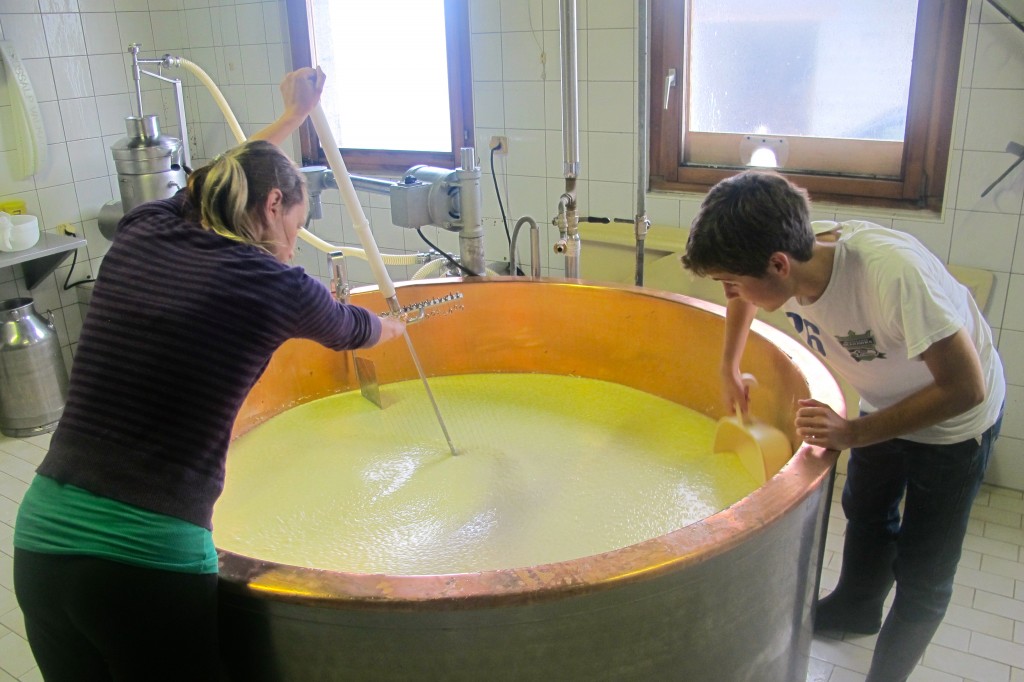
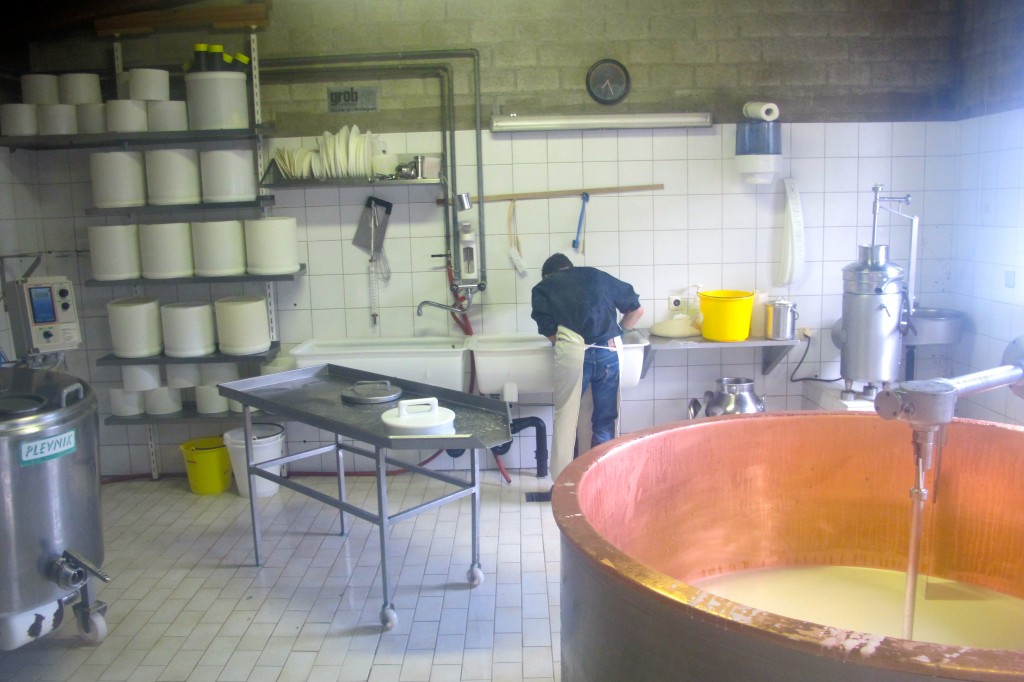
2. The milk is pumped into a copper basin.
3. Steam runs through the interior walls of the basin, which is pumped from a wood-burning furnace (we had to collect a lot of wood all the time) a few feet away.
4. The milk churns while it is slowly heated to a moderately warm temperature (I think it was something like 25 degrees C)
5. Bacteria is added to the milk to act as a catalyst for the reaction.
6. I think the milk is heated up to a higher temperature?It was definitely heated either before or after the bacteria was added… Blame my memory for this one.
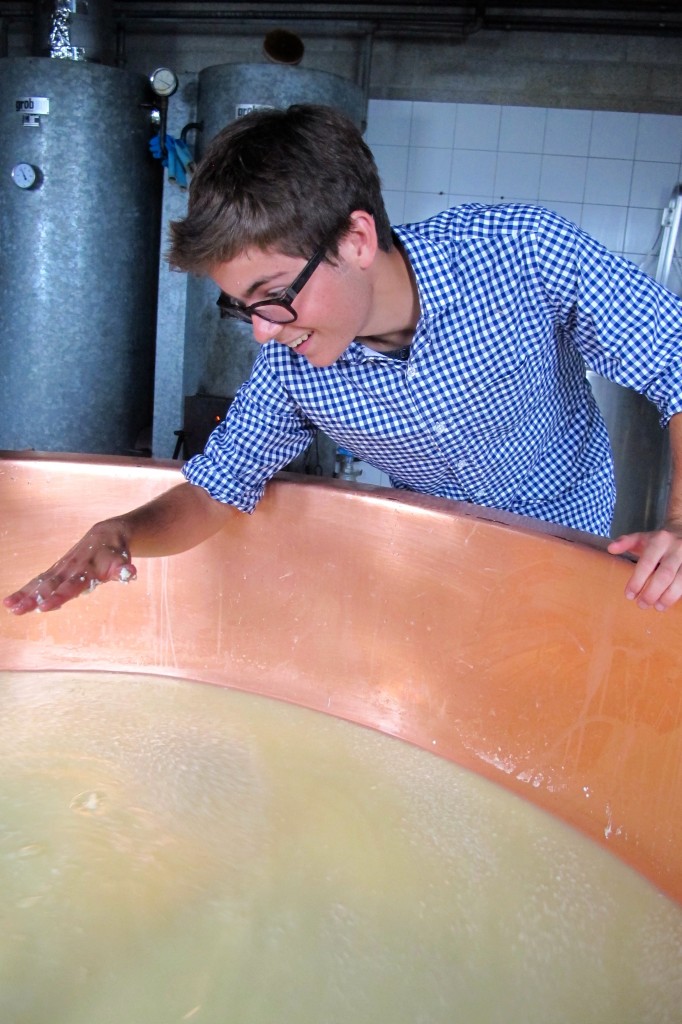
7. The milk is left to rest for about an hour, as the curd set and the whey sinks to the bottom.
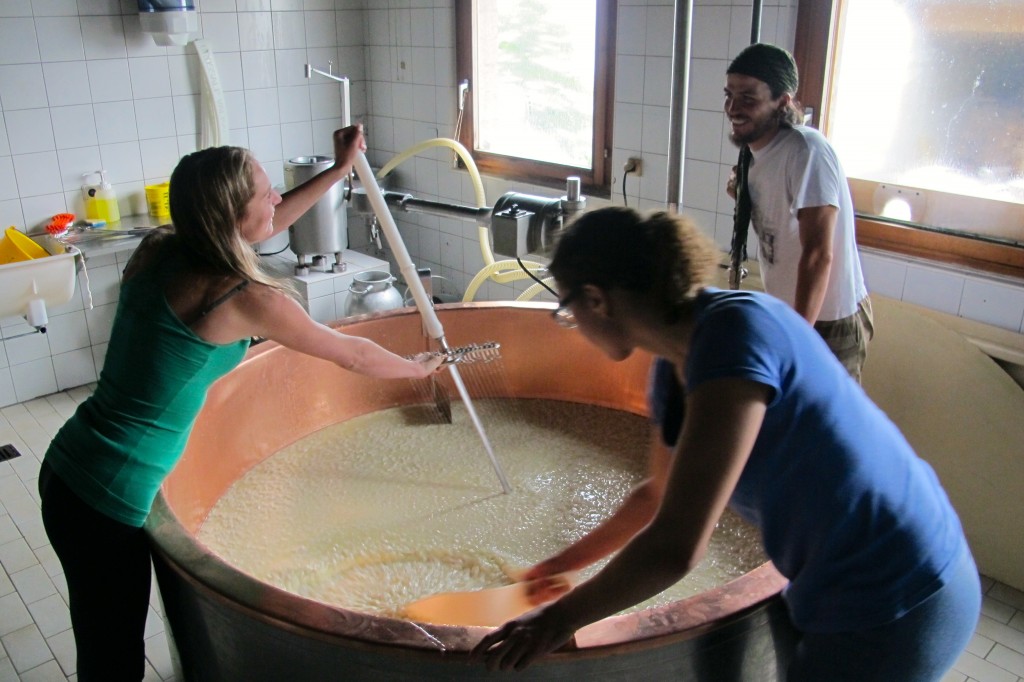
8. Here is everyone’s favorite part: Splitting the curds with the guitar-string tool! The floating curds on top are split into tiny pieces as the milk is turned by a helping hand.
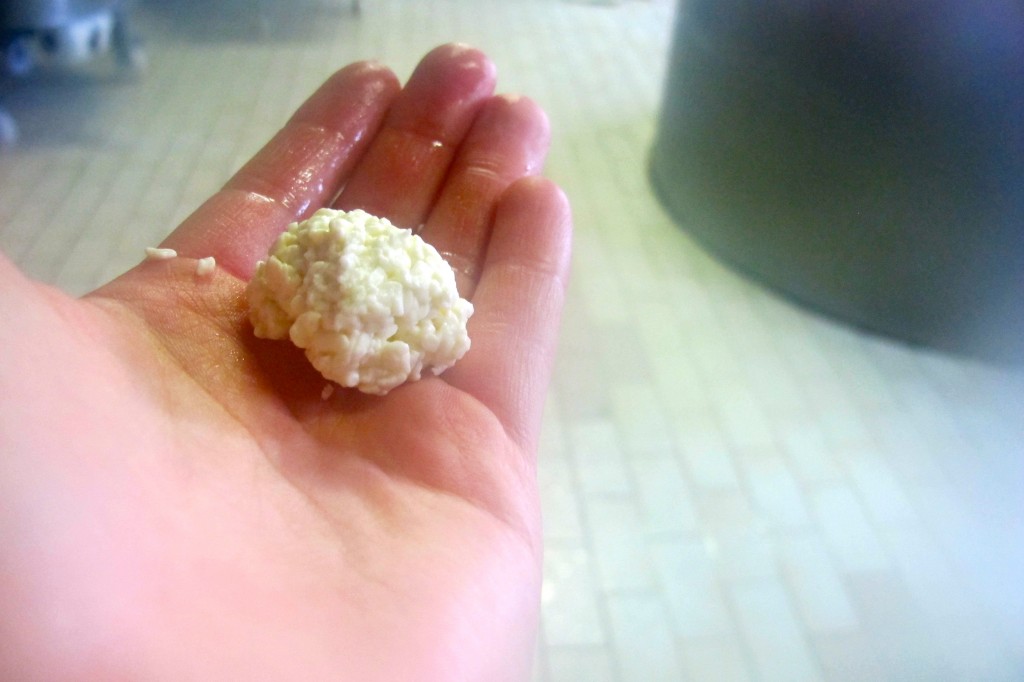
9. Once the curds are split, the milk is left to churn a little longer, allowing the curds to form even stronger and bigger.
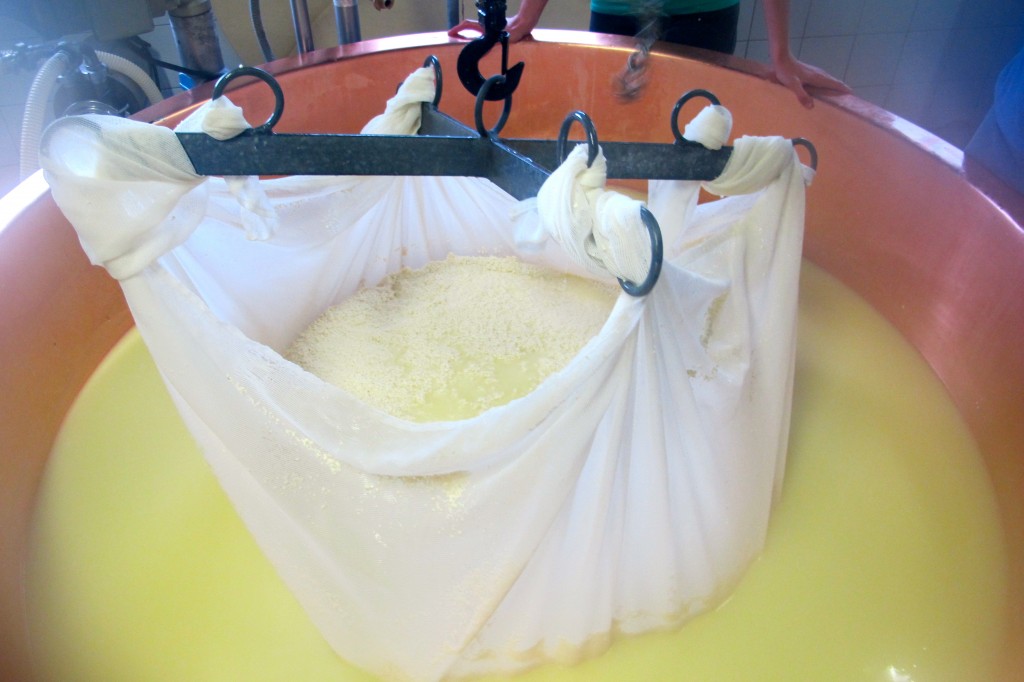
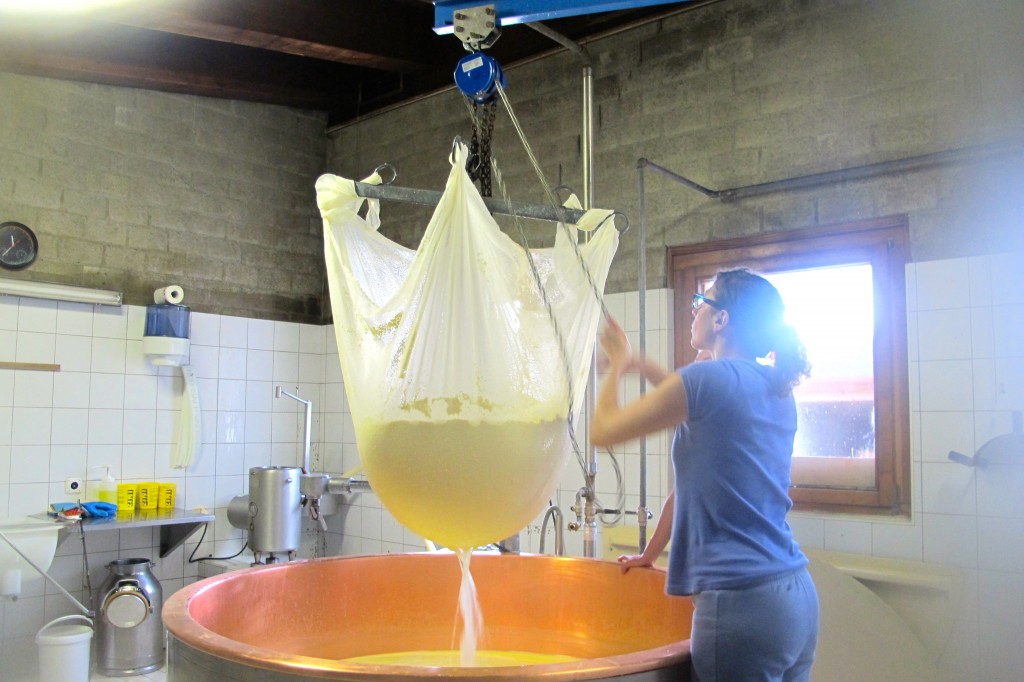
10. SEPARATE THE CURDS AND THE WHEY!
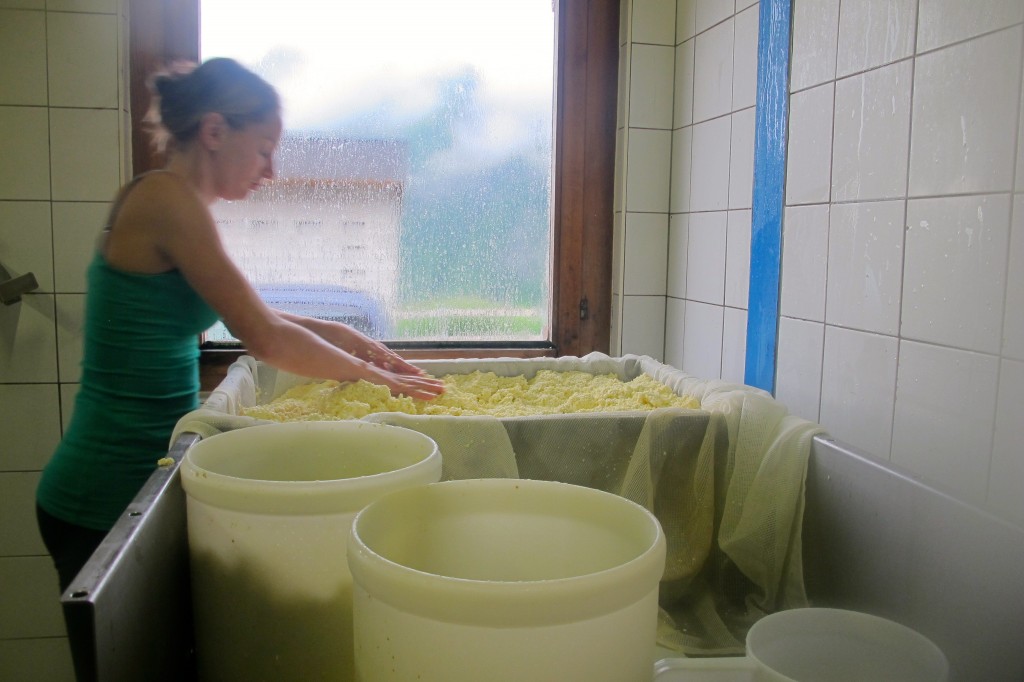
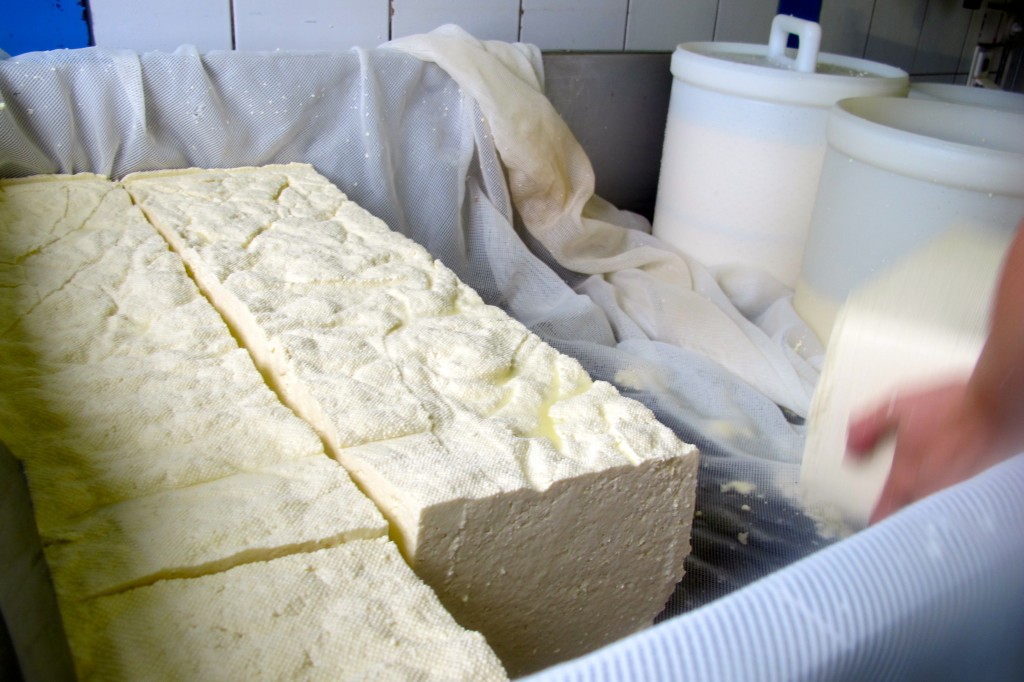
11. Allow the curds to rest under weights.
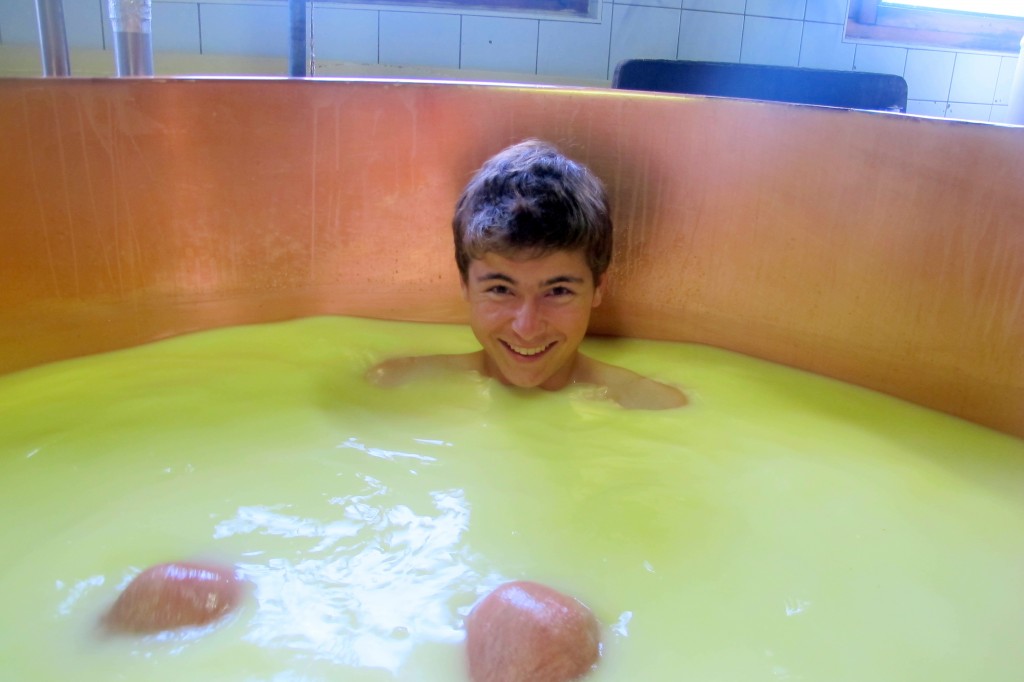
12. Bath in the whey. (Don’t tell the owner that we did that. I am sworn to secrecy.)
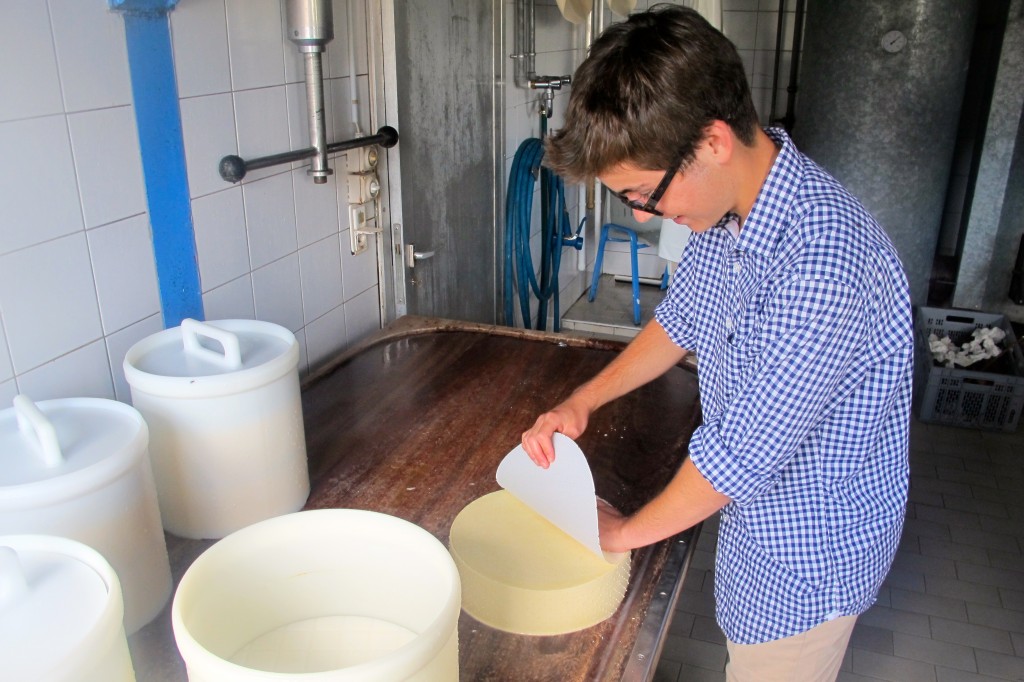
13. Cut the cheese into cubes.
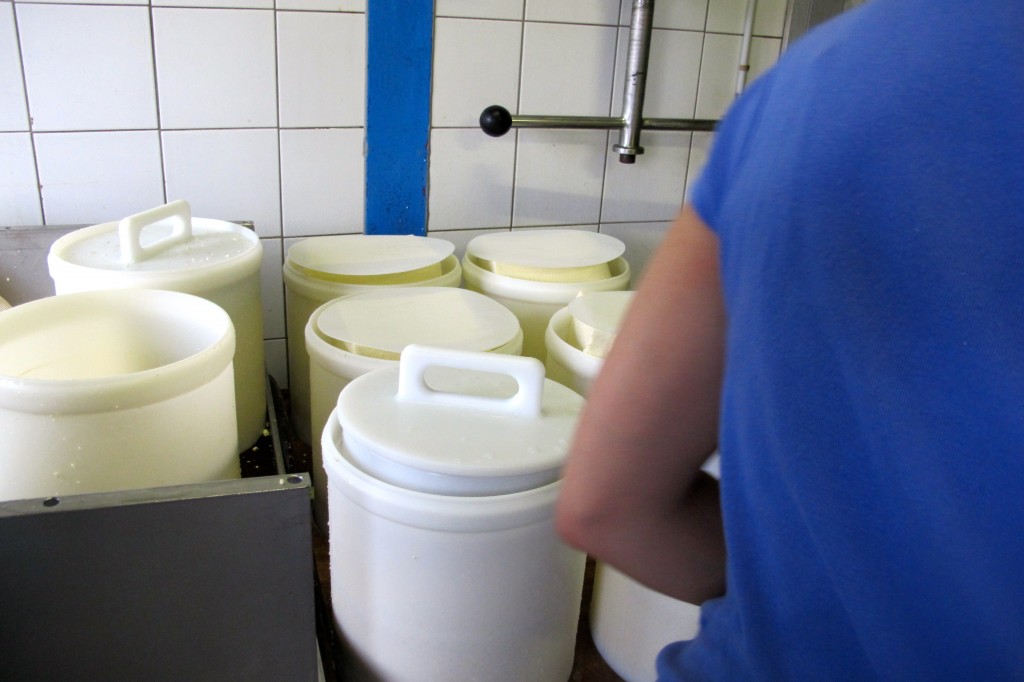
14. Place cubes in circular molds, and lay weights down.
TIME OUT: Clean up!
15. Every 45 minutes for an hour and a half, we had to flip which cheese was at the bottom of the mold with the one on the top (my favorite job).
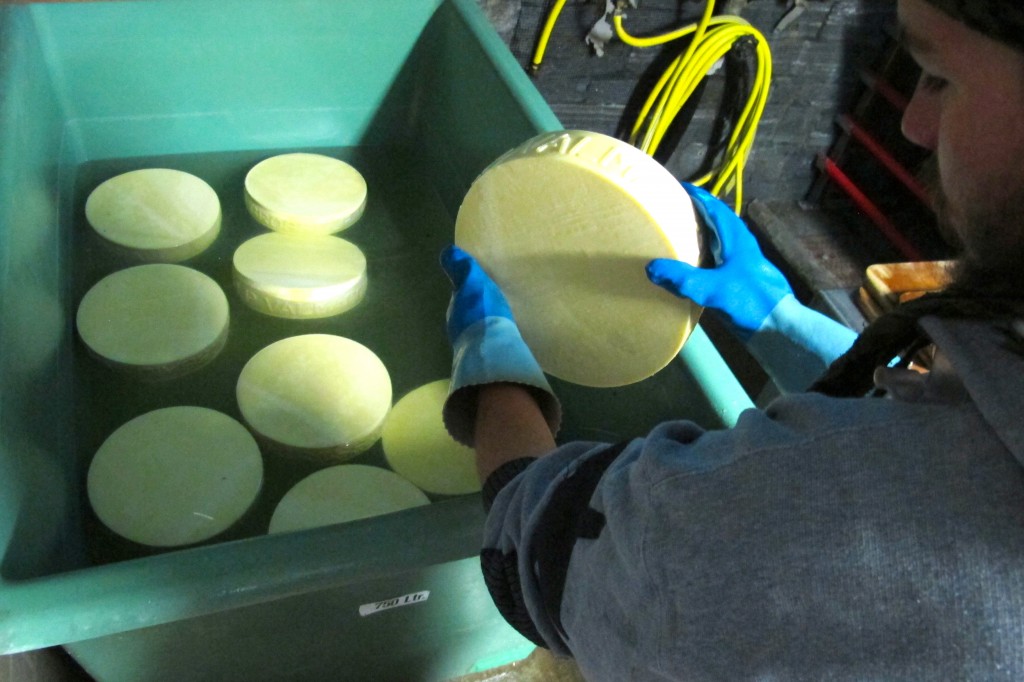
16. The next morning, we wake up at 5 am to find our cheese ready to go in the salt water bath! This bath salts the cheese, and prepares it for preservation.
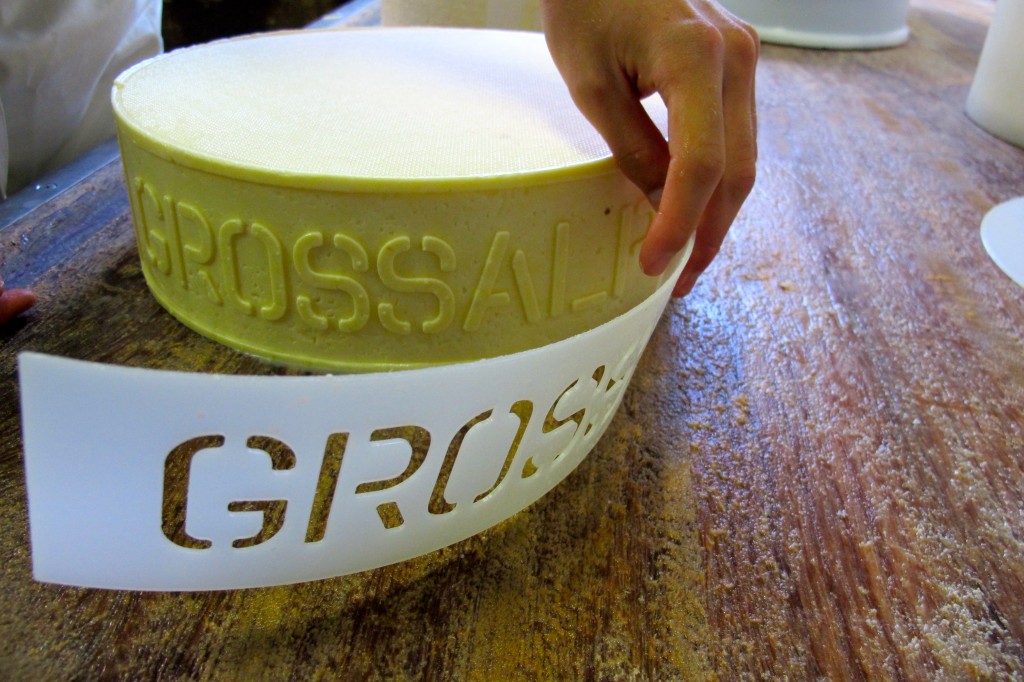
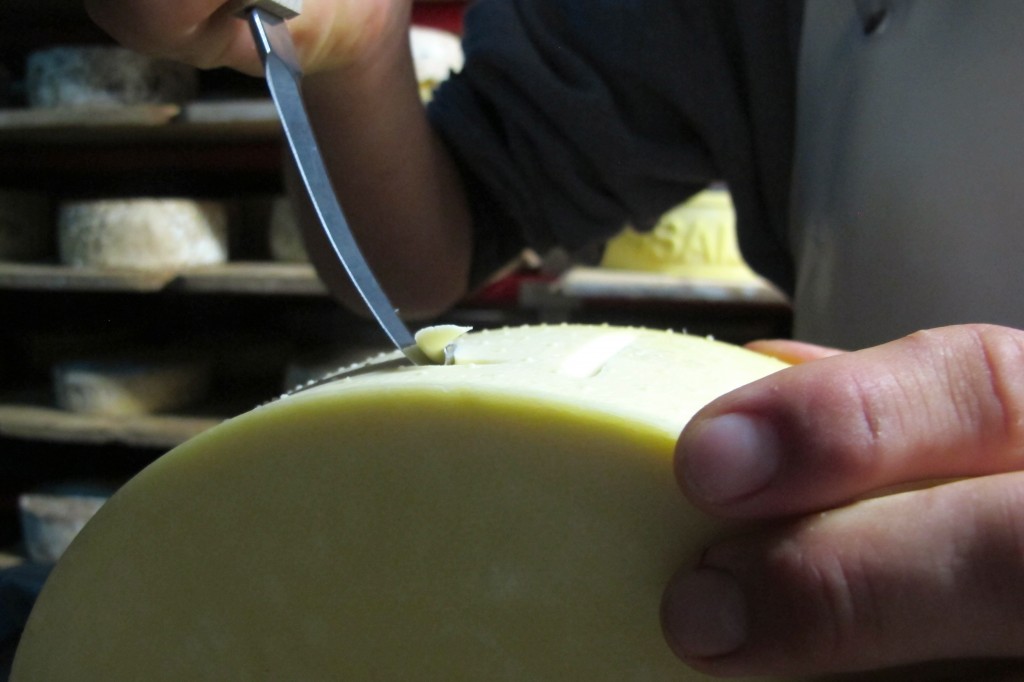
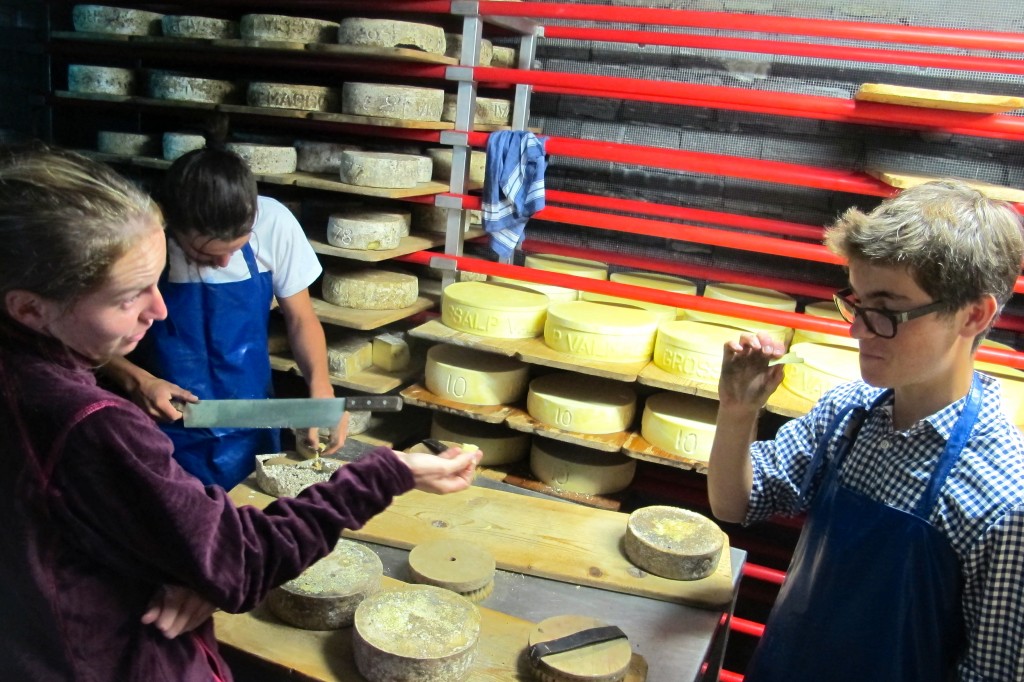
17. Carve in the day (the first day of the cheese-making season is marked “1”, etc.).
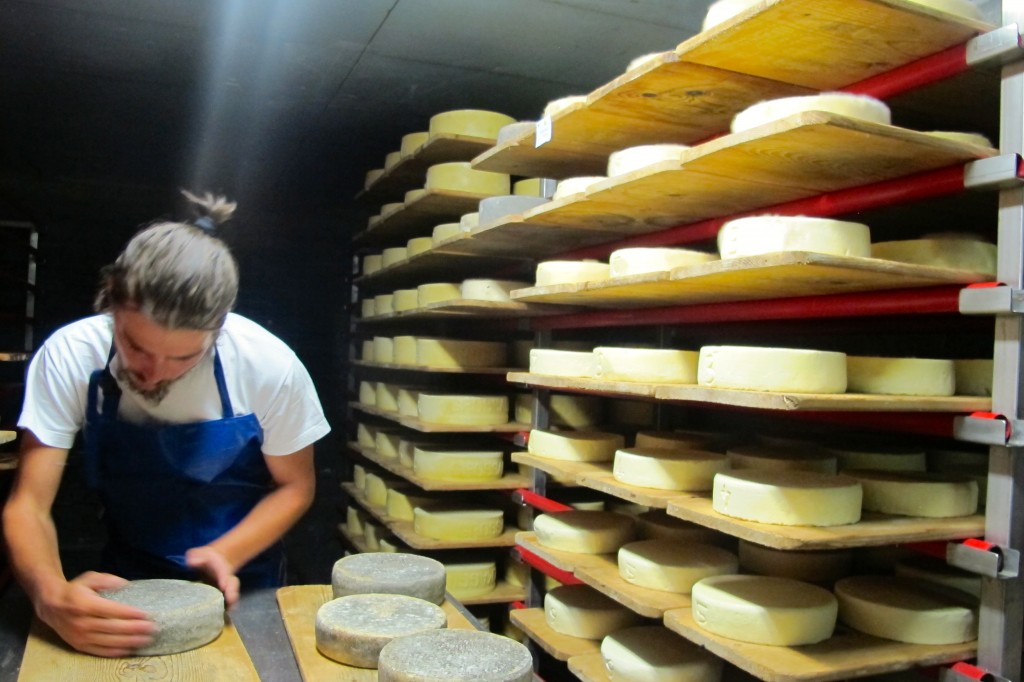
18. Preserve and eat!
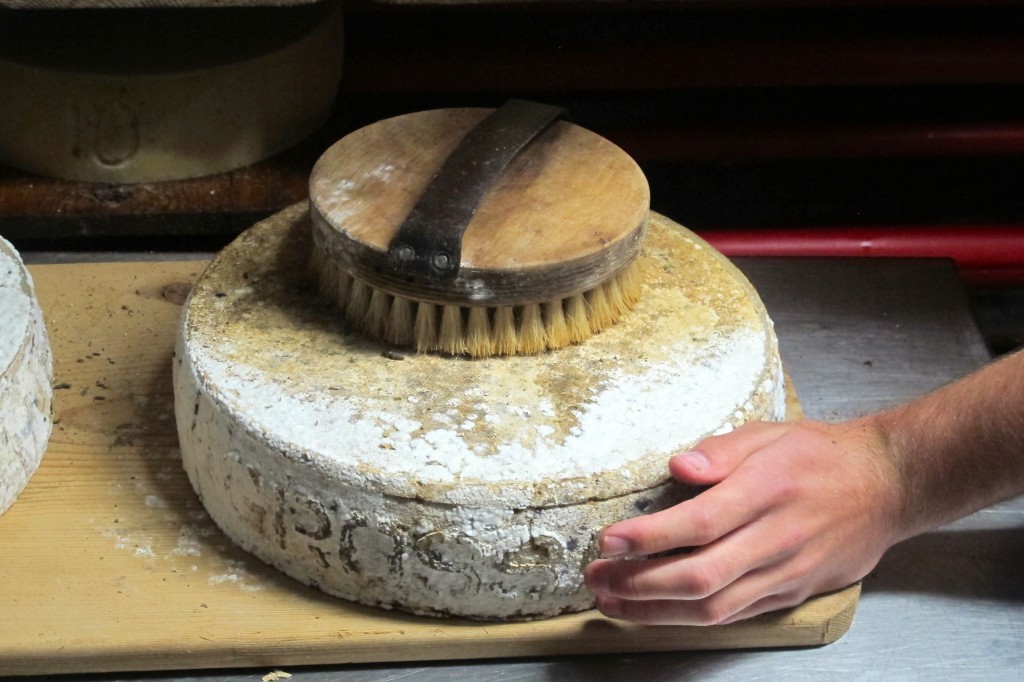
19. Occasionally wipe off the mold.
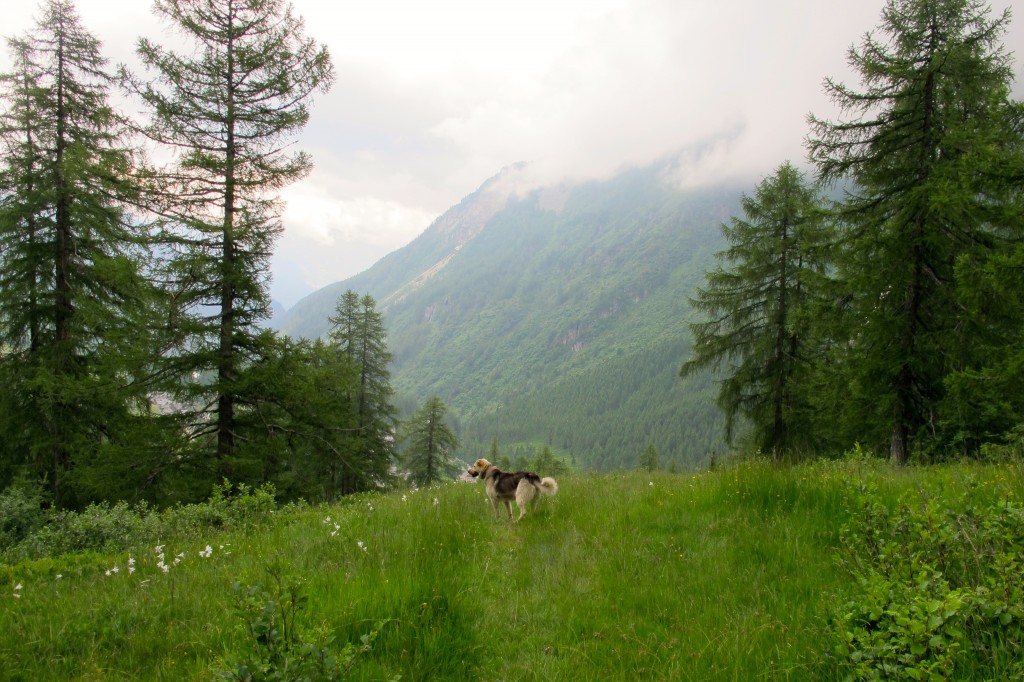
20. Go take a hike!
21. Buon Appetito!
Ben, this is an informative post for a non-scientist like me and a great explanation of the process. Loved it! And the photos add so much! Always enjoy your blog. Keep it going! Susan
Thank you, Susan! It’s great to hear that the “scientific” explanations worked for you.
-Ben